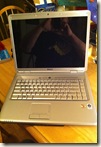
Recently I was asked to change out a CMOS battery in a Dell Inspiron 1526. If you don’t know this battery powers the CMOS chip(Complementary Metal-Oxide Semiconductor) which powers your systems time, date and basic hardware settings. Common symptoms are your time resetting to some arbitrary date and or receiving some type of CMOS error message.I’ve done quite a few on desktops which are easy to replace but with a laptop it’s usually more complex.
Dell thankfully does show us how to dissemble their laptops on their website. I commend Dell as I they are the only ones (I have yet to find another) that go to this length. Here is the link to this Dell Inspiron 1526. For most other laptops I’ve had to rely on some third party people publishing one. I could get by without them but these can be complex and have lots of tiny screws that easily get lost or forgotten. A guide helps insure that it goes back together correctly.
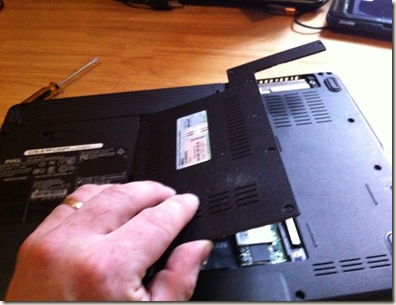
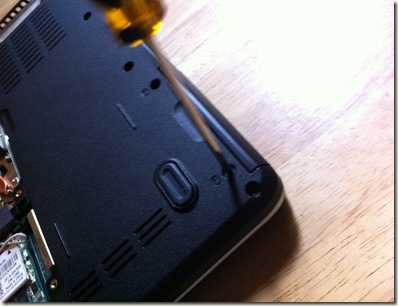
For this reason I’m just going over quickly with photo’s and some commentary. Dell’s instructions above are very good with only some minor glitch’s which are easy to figure out.
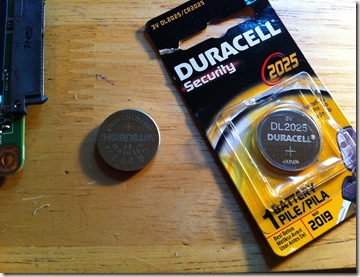
The battery here is a Duracell CR2025 and can be bought at your local drugstore for around $5 (give or take). Another common size is CR2032. It’s a good idea to check first before tearing your computer apart. That information can usually be found on the manufacturer’s website or in your computers documentation.They can last anywhere from five to ten years.
Now the fun begins…..
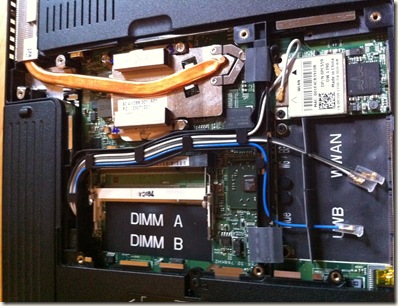
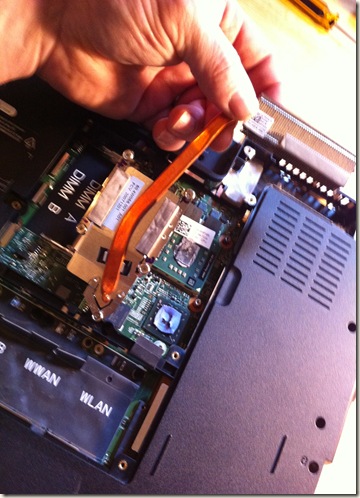
Here is the processor and RAM(already removed where is says DIMM A & DIMM B). We also see where our WAN card is located.
The hard drive is removed next which is held in place by a couple of screws.
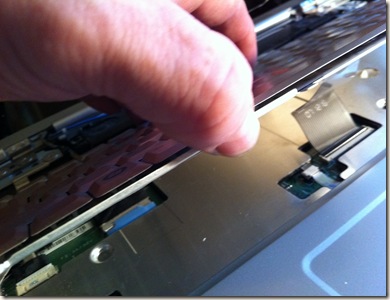
Be gentle when removing keyboard. They are generally attached by a very thin ribbon. The connectors can be a bit tricky so be patient or you’ll be replacing the keyboard also.
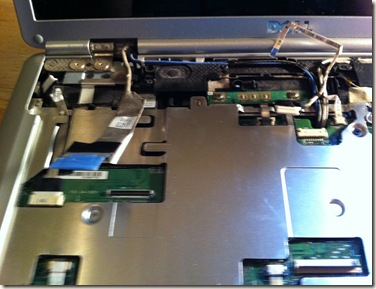
Disconnecting some more cables.
Removing the processor cooling fins.
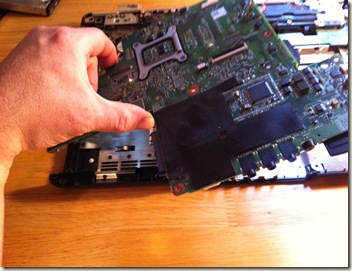
The motherboard is finally out!
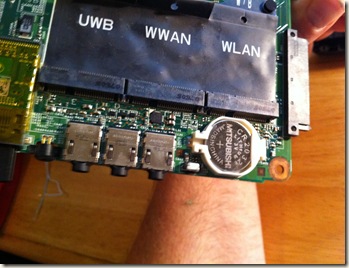
Here’s the culprit!
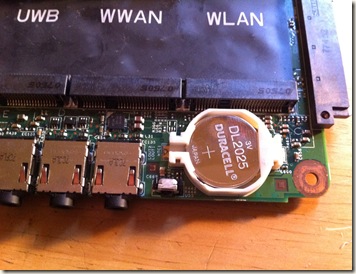
New battery in and put everything back together. It’s not too hard but you need some patience and good size work area. A small container to hold the small screws is a good idea too. Thanks for coming by.
